The Science and Art of Slime: A Comprehensive Guide to Home-Made Fun
Related Articles: The Science and Art of Slime: A Comprehensive Guide to Home-Made Fun
Introduction
With enthusiasm, let’s navigate through the intriguing topic related to The Science and Art of Slime: A Comprehensive Guide to Home-Made Fun. Let’s weave interesting information and offer fresh perspectives to the readers.
Table of Content
- 1 Related Articles: The Science and Art of Slime: A Comprehensive Guide to Home-Made Fun
- 2 Introduction
- 3 The Science and Art of Slime: A Comprehensive Guide to Home-Made Fun
- 3.1 Understanding the Science of Slime
- 3.2 A Guide to Crafting Different Slime Types
- 3.3 The Importance of Experimentation
- 3.4 Educational and Therapeutic Benefits of Slime
- 3.5 FAQs about Slime Making at Home
- 3.6 Tips for Successful Slime Making at Home
- 3.7 Conclusion
- 4 Closure
The Science and Art of Slime: A Comprehensive Guide to Home-Made Fun

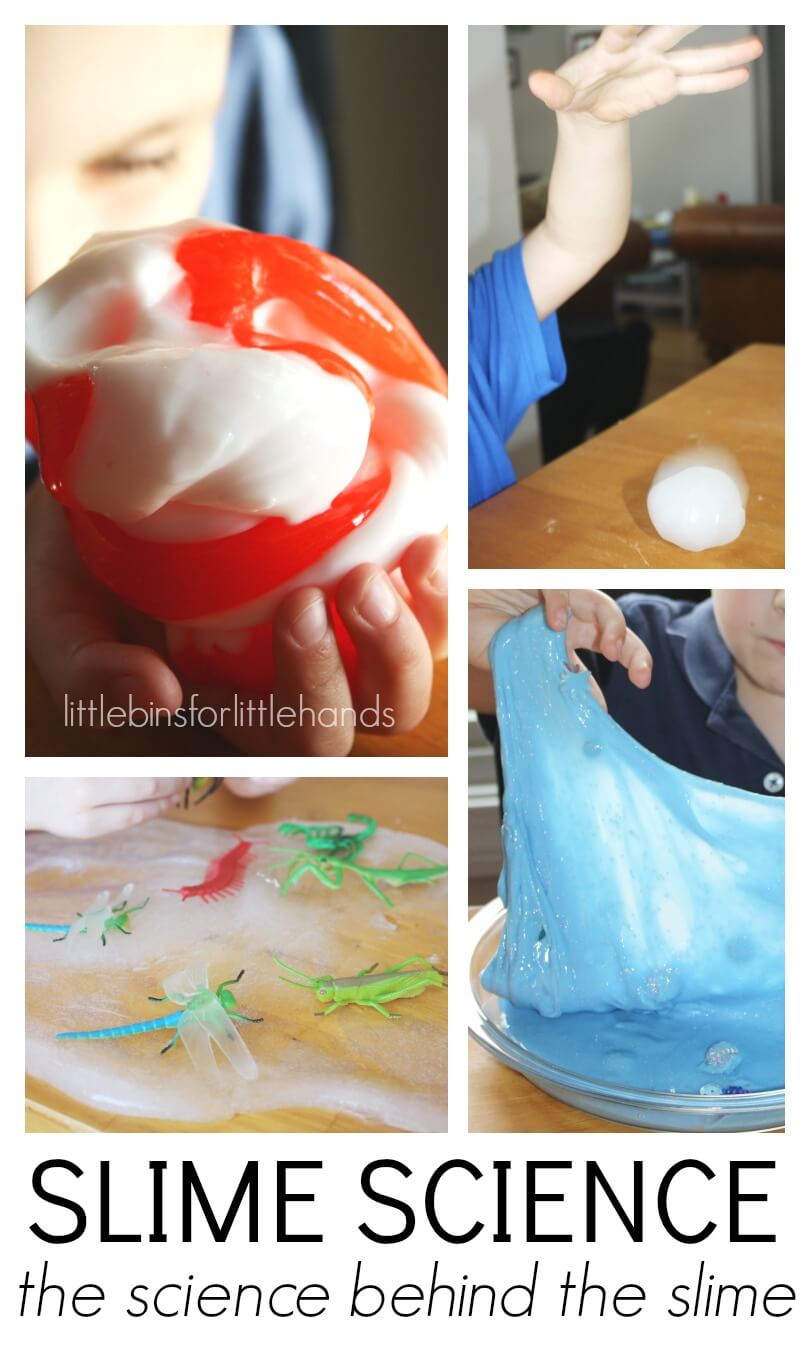
Slime, a gooey, viscous substance, has captured the imaginations of children and adults alike. Its tactile appeal, malleable nature, and endless possibilities for experimentation have made it a popular activity for all ages. While commercially available slime is readily accessible, creating slime at home offers a unique opportunity for hands-on learning and exploration. This article delves into the science behind slime creation, providing a detailed guide to crafting different types of slime at home, while highlighting the educational and therapeutic benefits of this engaging activity.
Understanding the Science of Slime
Slime is essentially a non-Newtonian fluid, meaning its viscosity (resistance to flow) changes depending on the applied stress. This unique property allows slime to behave both like a liquid and a solid. The key ingredient responsible for this behavior is a polymer, typically polyvinyl alcohol (PVA) found in white glue, which forms long chains.
The Role of Activators:
To transform the glue into slime, an activator is needed. Common activators include:
- Borax: A compound containing borate ions that cross-link the PVA chains, creating a network structure that gives slime its characteristic texture.
- Liquid starch: A readily available alternative to borax, liquid starch also reacts with PVA to create slime.
- Contact lens solution: Some contact lens solutions contain boric acid, which can act as an activator. However, it is essential to use solutions specifically designed for this purpose and follow the instructions carefully.
The Importance of Ratios:
The ratio of glue to activator is crucial for determining the slime’s consistency. Too much activator will result in a hard, brittle slime, while too little will lead to a runny, liquid-like substance. Experimentation is key to finding the perfect balance for the desired slime texture.
A Guide to Crafting Different Slime Types
The world of slime is vast, offering a plethora of variations with unique textures and colors. Here are some popular slime recipes:
1. Classic Borax Slime:
Ingredients:
- 1/2 cup white glue
- 1/4 cup water
- 1 teaspoon borax
- Food coloring (optional)
Instructions:
- Combine the glue and water in a bowl.
- In a separate bowl, dissolve the borax in the remaining water.
- Gradually add the borax solution to the glue mixture, stirring continuously until the slime forms.
- Add food coloring, if desired.
- Knead the slime until it reaches the desired consistency.
2. Liquid Starch Slime:
Ingredients:
- 1/2 cup white glue
- 1/4 cup liquid starch
- Food coloring (optional)
Instructions:
- Pour the glue into a bowl.
- Slowly add the liquid starch, stirring continuously until the slime forms.
- Add food coloring, if desired.
- Knead the slime until it reaches the desired consistency.
3. Fluffy Slime:
Ingredients:
- 1/2 cup white glue
- 1/4 cup shaving cream
- 1 tablespoon borax
- 1/2 cup water
- Food coloring (optional)
Instructions:
- Combine the glue and shaving cream in a bowl.
- In a separate bowl, dissolve the borax in the water.
- Gradually add the borax solution to the glue mixture, stirring continuously until the slime forms.
- Add food coloring, if desired.
- Knead the slime until it reaches the desired consistency.
4. Glitter Slime:
Ingredients:
- 1/2 cup white glue
- 1/4 cup water
- 1 teaspoon borax
- Glitter
- Food coloring (optional)
Instructions:
- Follow the instructions for Classic Borax Slime.
- Add glitter to the slime mixture before kneading.
5. Cloud Slime:
Ingredients:
- 1/2 cup white glue
- 1/4 cup water
- 1 tablespoon borax
- Shaving cream
- Food coloring (optional)
Instructions:
- Follow the instructions for Classic Borax Slime.
- Add a small amount of shaving cream to the slime mixture before kneading.
6. Magnetic Slime:
Ingredients:
- 1/2 cup white glue
- 1/4 cup water
- 1 teaspoon borax
- Iron filings
- Food coloring (optional)
Instructions:
- Follow the instructions for Classic Borax Slime.
- Add iron filings to the slime mixture before kneading.
The Importance of Experimentation
Slime creation is not just about following recipes; it’s about exploring the possibilities and discovering new textures and colors. Encouraging experimentation allows individuals to understand the science behind slime and develop their creativity.
Factors Influencing Slime Properties:
- Glue Type: Different types of glue, such as school glue, PVA glue, and Elmer’s glue, can influence the slime’s texture.
- Activator Concentration: The amount of activator used directly affects the slime’s consistency.
- Temperature: Temperature can affect the reaction rate and the slime’s final texture.
- Additives: Incorporating various additives like glitter, beads, or food coloring can create unique visual and tactile experiences.
Educational and Therapeutic Benefits of Slime
Beyond its entertainment value, slime making offers a range of educational and therapeutic benefits:
1. Sensory Exploration: Playing with slime engages multiple senses, particularly touch. The tactile feedback provides a calming and stimulating experience, promoting sensory integration and development.
2. Scientific Inquiry: Slime creation fosters scientific inquiry and critical thinking. Children can explore the concepts of viscosity, polymers, and chemical reactions through hands-on experimentation.
3. Creativity and Imagination: Slime provides a blank canvas for creativity and imagination. Children can mold, shape, and experiment with the slime, expressing their artistic vision and developing their problem-solving skills.
4. Stress Relief: The repetitive action of kneading and manipulating slime can be therapeutic and stress-relieving. It provides a calming sensory experience that can help manage anxiety and improve focus.
5. Fine Motor Skills Development: Slime play can enhance fine motor skills, hand-eye coordination, and dexterity.
FAQs about Slime Making at Home
1. What happens if I use too much activator?
Too much activator will result in a hard, brittle slime that is difficult to play with.
2. Can I use other activators besides borax?
Yes, liquid starch and some contact lens solutions can also act as activators. However, it’s essential to use solutions specifically designed for slime making and follow the instructions carefully.
3. How long does slime last?
Slime can last for several weeks if stored properly in an airtight container. However, it may eventually dry out or become sticky.
4. Can I add other ingredients to my slime?
Yes, you can add various ingredients to your slime, such as glitter, beads, food coloring, or even small toys. However, ensure the ingredients are safe for children and won’t affect the slime’s texture.
5. Is slime safe for children?
While slime making is generally safe for children, it’s important to supervise them during the process and ensure they don’t ingest the slime.
Tips for Successful Slime Making at Home
- Use high-quality ingredients: Choose high-quality glue and activator for the best results.
- Start with small quantities: Begin with small amounts of ingredients and gradually increase them as needed.
- Stir continuously: Consistent stirring is crucial for ensuring a smooth and even slime texture.
- Experiment with different ratios: Don’t be afraid to experiment with different ratios of glue and activator to find the perfect consistency.
- Store slime properly: Store slime in an airtight container to prevent it from drying out or becoming sticky.
- Clean up thoroughly: Wash hands and surfaces thoroughly after making slime to avoid any spills or sticky messes.
Conclusion
Creating slime at home is a fun and engaging activity that combines science, creativity, and sensory exploration. By understanding the science behind slime and experimenting with different recipes and ingredients, individuals can discover the endless possibilities of this fascinating substance. Whether used for educational purposes, therapeutic benefits, or simply for creative play, slime offers a unique and rewarding experience for all ages.

.jpg)


Closure
Thus, we hope this article has provided valuable insights into The Science and Art of Slime: A Comprehensive Guide to Home-Made Fun. We thank you for taking the time to read this article. See you in our next article!