The Essential Guide to Move-Out Checklists: Ensuring a Smooth Transition and Maximizing Your Deposit
Related Articles: The Essential Guide to Move-Out Checklists: Ensuring a Smooth Transition and Maximizing Your Deposit
Introduction
In this auspicious occasion, we are delighted to delve into the intriguing topic related to The Essential Guide to Move-Out Checklists: Ensuring a Smooth Transition and Maximizing Your Deposit. Let’s weave interesting information and offer fresh perspectives to the readers.
Table of Content
The Essential Guide to Move-Out Checklists: Ensuring a Smooth Transition and Maximizing Your Deposit

Moving out of a rental property can be a stressful process, filled with packing, cleaning, and the anticipation of receiving your security deposit back. A well-structured move-out checklist serves as a valuable tool, streamlining the process and minimizing the risk of disputes with your landlord. It provides a comprehensive guide for ensuring that the property is returned in a condition that meets the terms of your lease agreement, thus increasing your chances of a full refund.
Understanding the Importance of a Move-Out Checklist
The significance of a move-out checklist lies in its ability to act as a clear and documented record of the property’s condition before you vacate. This documentation serves as a crucial piece of evidence in the event of any disagreements with your landlord regarding the state of the property.
Key Components of a Move-Out Checklist
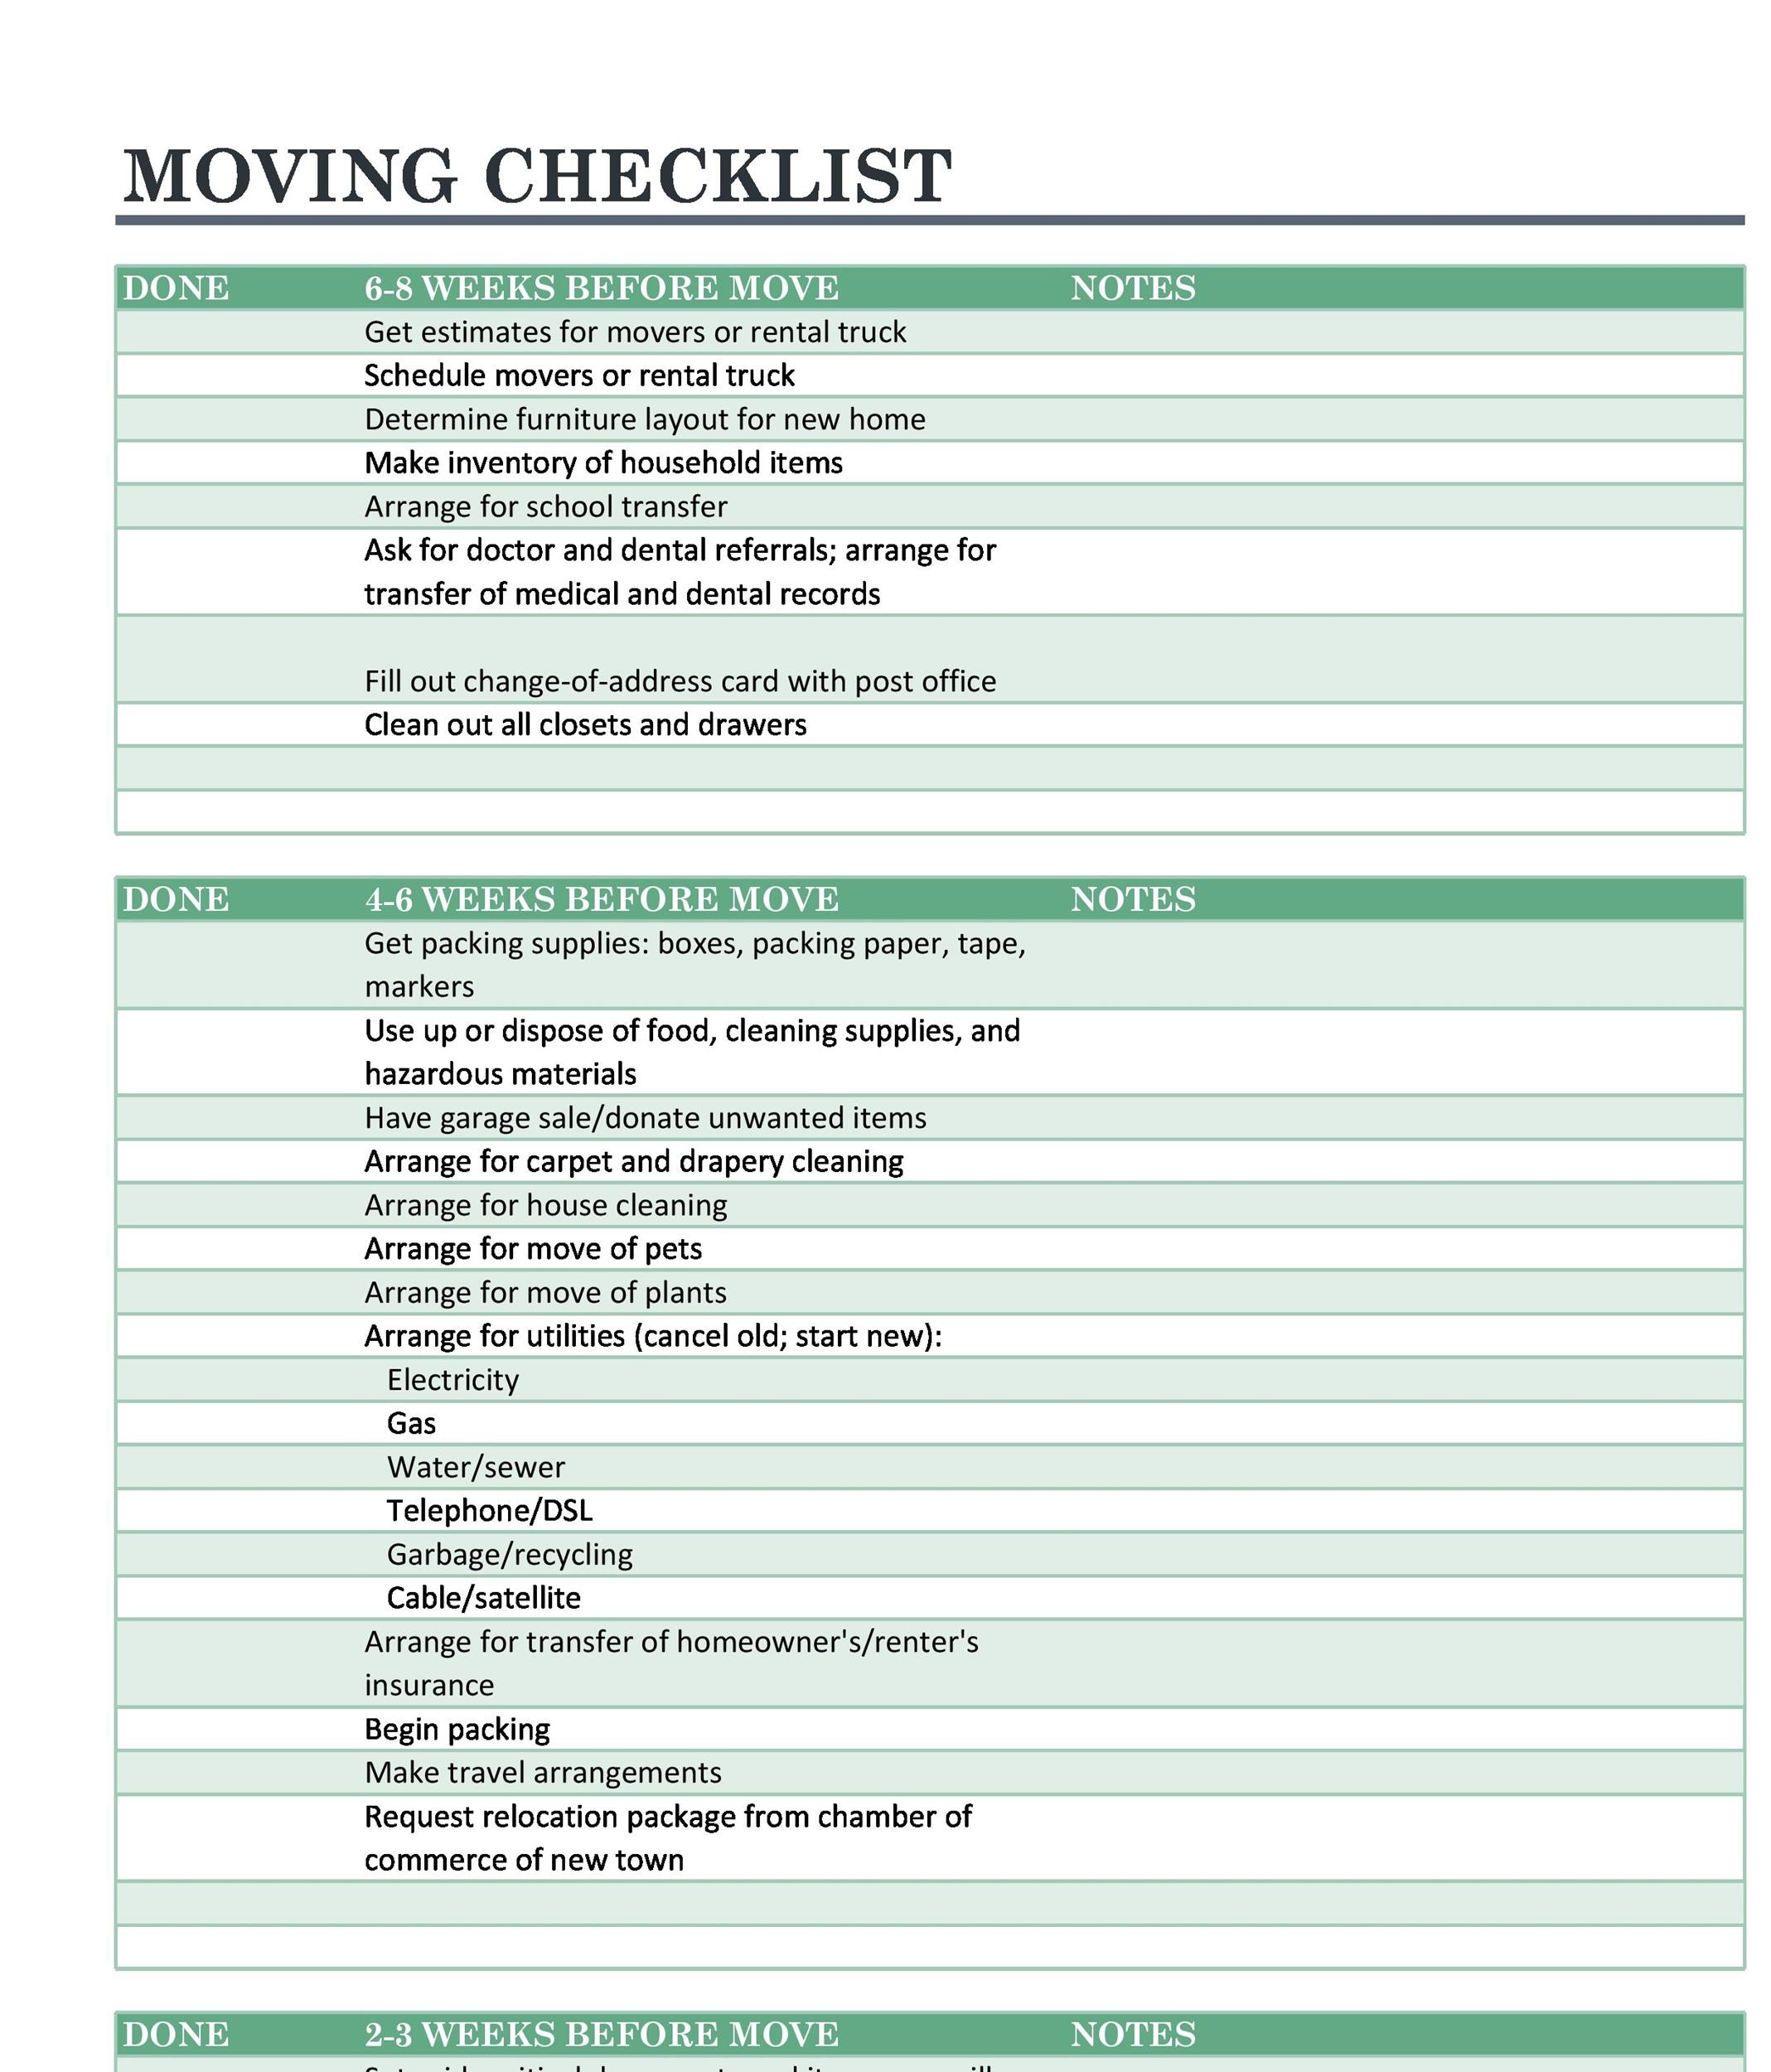
A comprehensive move-out checklist should encompass a detailed examination of various aspects of the rental property, including:
1. Interior Spaces:
- Walls and Ceilings: Inspect for any damage, including holes, cracks, stains, or peeling paint. Document the condition and take photographs for evidence.
- Flooring: Assess the condition of carpets, hardwood floors, or tiles. Note any stains, scratches, tears, or loose boards.
- Windows and Doors: Check for broken panes, cracked frames, or malfunctioning locks. Ensure all windows and doors close and latch securely.
- Kitchen: Clean and sanitize all appliances, including the refrigerator, oven, dishwasher, and microwave. Ensure all surfaces are free of grime and debris.
- Bathrooms: Thoroughly clean and disinfect the bathtub, shower, sink, and toilet. Check for any leaks or water damage.
- Cabinets and Drawers: Empty all cabinets and drawers, ensuring they are clean and free of debris.
- Light Fixtures and Electrical Outlets: Test all lights and electrical outlets for functionality. Report any malfunctions to your landlord.
2. Exterior Spaces:
- Yard: Mow the lawn, trim hedges, and remove any debris or trash.
- Patio or Deck: Clean and inspect for any damage or loose boards.
- Garage: Clean and organize the garage, removing any personal belongings.
- Exterior Walls and Paint: Inspect for any damage, including cracks, peeling paint, or water stains.
- Gutters and Downspouts: Ensure gutters are clean and free of debris, and downspouts are directing water away from the foundation.
3. Appliances:
- Refrigerator: Clean and defrost the refrigerator, removing any food items.
- Oven and Stove: Clean the oven and stovetop, removing any burnt food residue.
- Dishwasher: Clean the dishwasher, ensuring it is functioning properly.
- Washing Machine and Dryer: Clean the washing machine and dryer, removing any lint buildup.
- Garbage Disposal: Clean the garbage disposal, ensuring it is functioning properly.
4. Utilities:
- Water: Turn off the water supply to the property.
- Electricity: Ensure all lights and appliances are turned off.
- Gas: Turn off the gas supply to the property.
- Heating and Cooling: Ensure all heating and cooling systems are turned off and set to a reasonable temperature.
5. Miscellaneous:
- Smoke Detectors and Carbon Monoxide Detectors: Test all smoke detectors and carbon monoxide detectors, ensuring they are functioning properly.
- Fire Extinguishers: Check the fire extinguishers, ensuring they are fully charged.
- Keys and Remote Controls: Return all keys and remote controls to your landlord.
- Personal Belongings: Remove all personal belongings from the property.
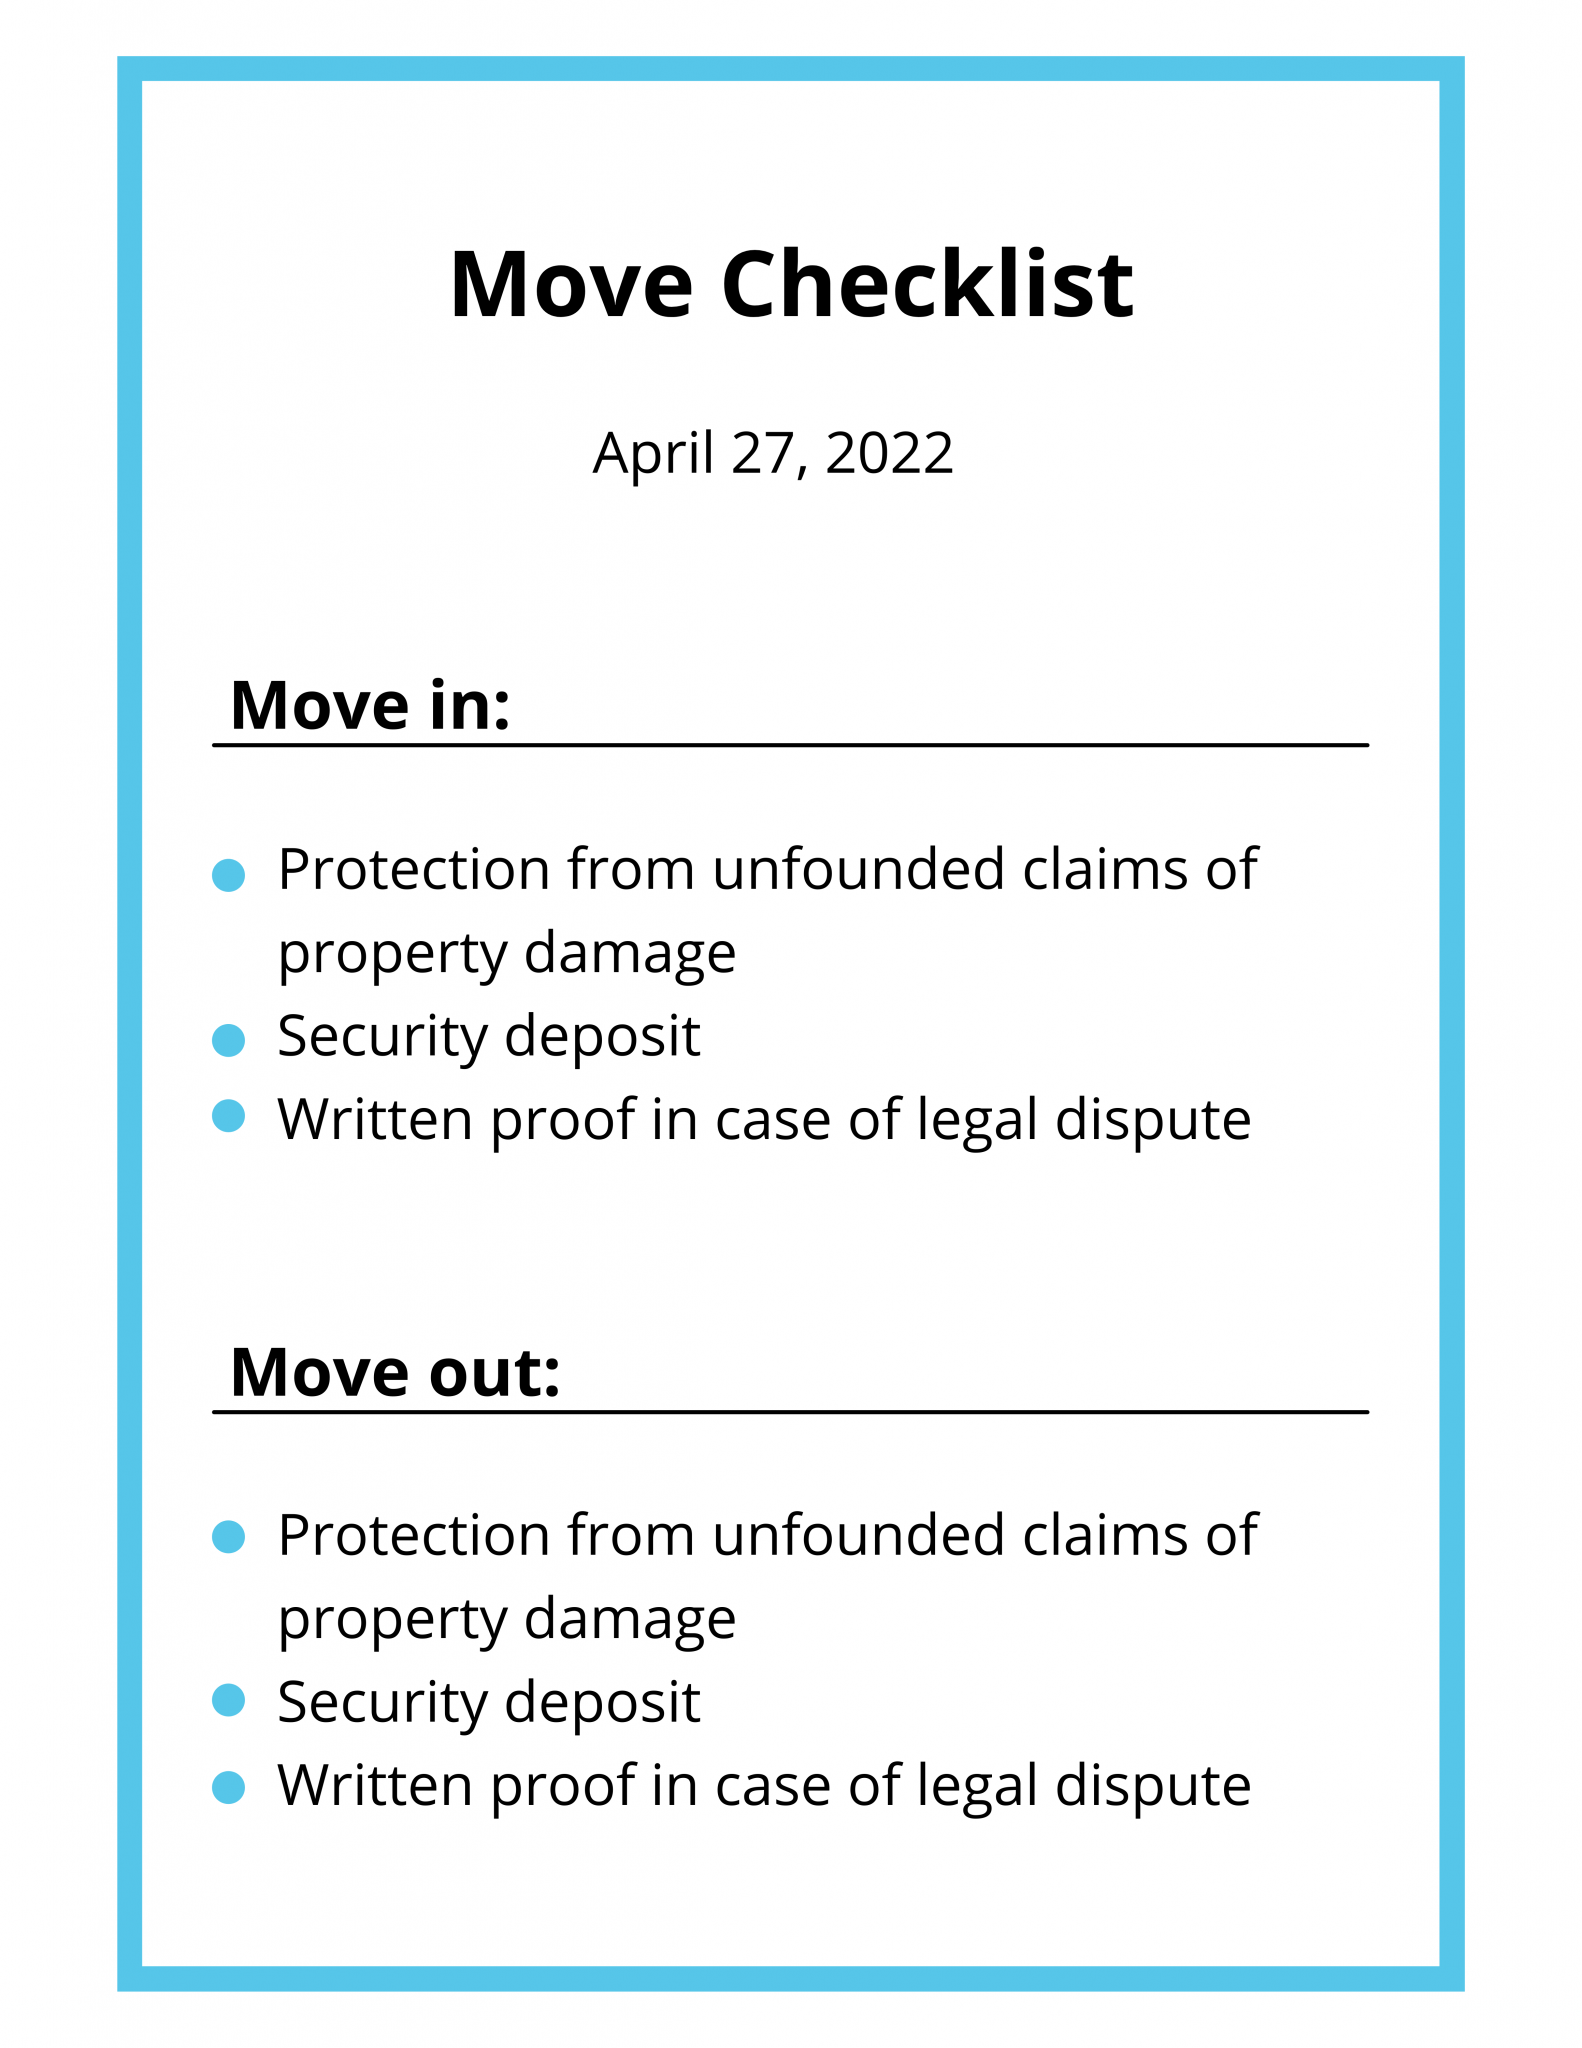
Benefits of Using a Move-Out Checklist
- Reduces Disputes with the Landlord: A detailed checklist minimizes the potential for disagreements regarding the condition of the property at move-out.
- Protects Your Security Deposit: By ensuring the property is returned in a clean and well-maintained state, you increase your chances of receiving a full refund of your security deposit.
- Provides Clear Documentation: The checklist serves as a documented record of the property’s condition, offering evidence in case of any disputes.
- Streamlines the Move-Out Process: By following a structured checklist, you can efficiently organize and complete the move-out tasks, reducing stress and confusion.
FAQs about Move-Out Checklists
1. Where can I find a move-out checklist?
- You can find move-out checklists online from various sources, including real estate websites, rental property management companies, and consumer protection agencies. Your lease agreement may also include a checklist.
2. Is it necessary to use a checklist?
- While not legally required, using a move-out checklist is highly recommended. It provides valuable documentation and protection for both tenants and landlords.
3. What happens if I fail to meet the checklist requirements?
- If you fail to meet the checklist requirements, your landlord may withhold a portion of your security deposit to cover the cost of repairs or cleaning.
4. Can I make changes to the checklist?
- You can make changes to the checklist as long as they are reasonable and align with the terms of your lease agreement. It is advisable to discuss any changes with your landlord.
5. What if my landlord is not satisfied with the condition of the property?
- If your landlord is not satisfied with the condition of the property, they should provide you with a detailed list of issues and an opportunity to address them. You can then negotiate a resolution or dispute the charges.
Tips for Using a Move-Out Checklist Effectively
- Review your lease agreement: Ensure that your checklist aligns with the specific terms and conditions outlined in your lease agreement.
- Begin early: Start preparing for your move-out well in advance to allow ample time to complete all necessary tasks.
- Take photographs: Document the condition of the property with photographs, including any existing damage or wear and tear.
- Keep a copy of the checklist: Retain a copy of the completed checklist for your records.
- Communicate with your landlord: Keep your landlord informed of your move-out plans and any issues that may arise.
Conclusion
A move-out checklist is an essential tool for tenants, ensuring a smooth and hassle-free transition when vacating a rental property. By meticulously following the checklist and documenting the condition of the property, tenants can minimize the risk of disputes with their landlords and maximize their chances of receiving a full refund of their security deposit. It is a proactive step that safeguards both parties’ interests and promotes a positive and professional end to the tenancy.


Closure
Thus, we hope this article has provided valuable insights into The Essential Guide to Move-Out Checklists: Ensuring a Smooth Transition and Maximizing Your Deposit. We hope you find this article informative and beneficial. See you in our next article!