Crafting Your Own Vaping Experience: A Comprehensive Guide to DIY E-Liquid
Related Articles: Crafting Your Own Vaping Experience: A Comprehensive Guide to DIY E-Liquid
Introduction
With great pleasure, we will explore the intriguing topic related to Crafting Your Own Vaping Experience: A Comprehensive Guide to DIY E-Liquid. Let’s weave interesting information and offer fresh perspectives to the readers.
Table of Content
Crafting Your Own Vaping Experience: A Comprehensive Guide to DIY E-Liquid
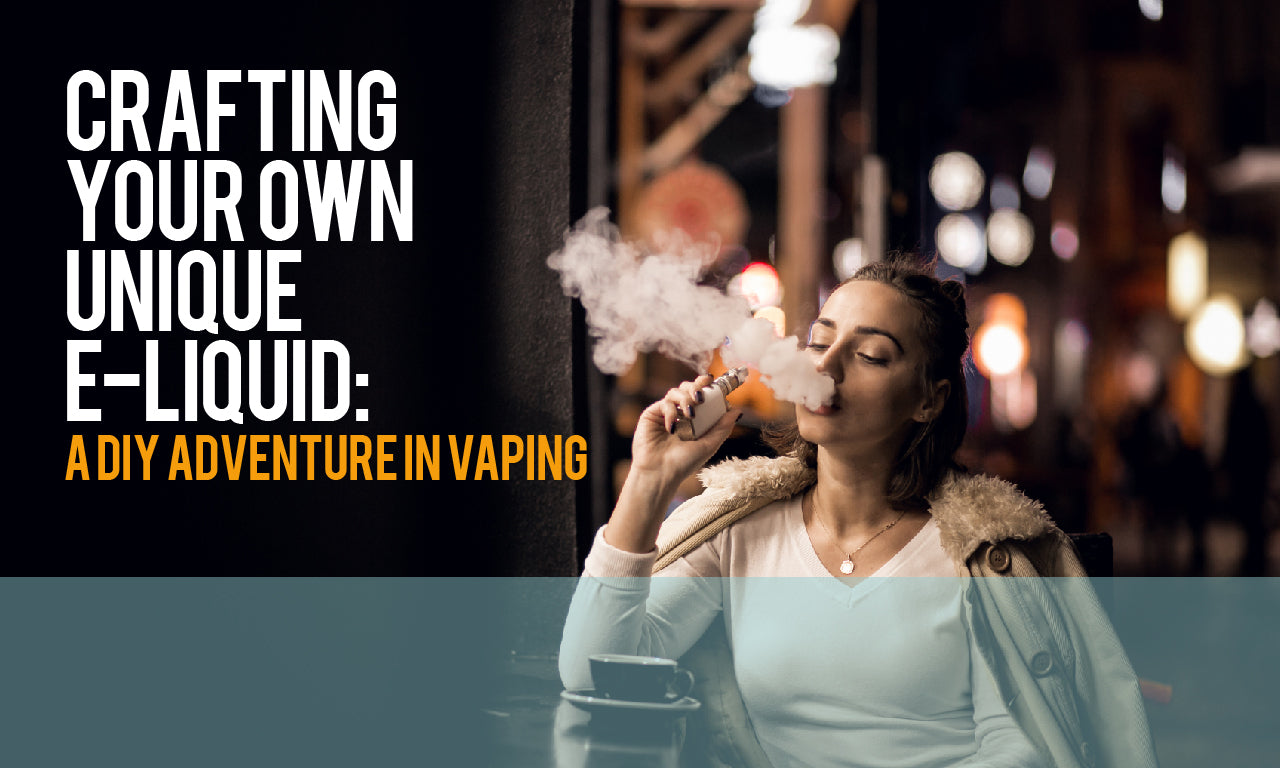
The world of vaping offers a vast array of flavors and experiences, catering to a diverse spectrum of preferences. While commercially available e-liquids provide a readily accessible option, many vapers find themselves drawn to the creative freedom and cost-effectiveness of crafting their own e-liquid at home. This practice, known as DIY e-liquid mixing, allows individuals to meticulously control the ingredients, flavor profiles, and nicotine strength, resulting in a personalized vaping experience tailored to their specific desires.
This comprehensive guide will delve into the intricacies of DIY e-liquid mixing, providing a detailed understanding of the process, necessary equipment, safety precautions, and essential considerations for crafting your own vaping solutions.
Understanding the Components of E-Liquid
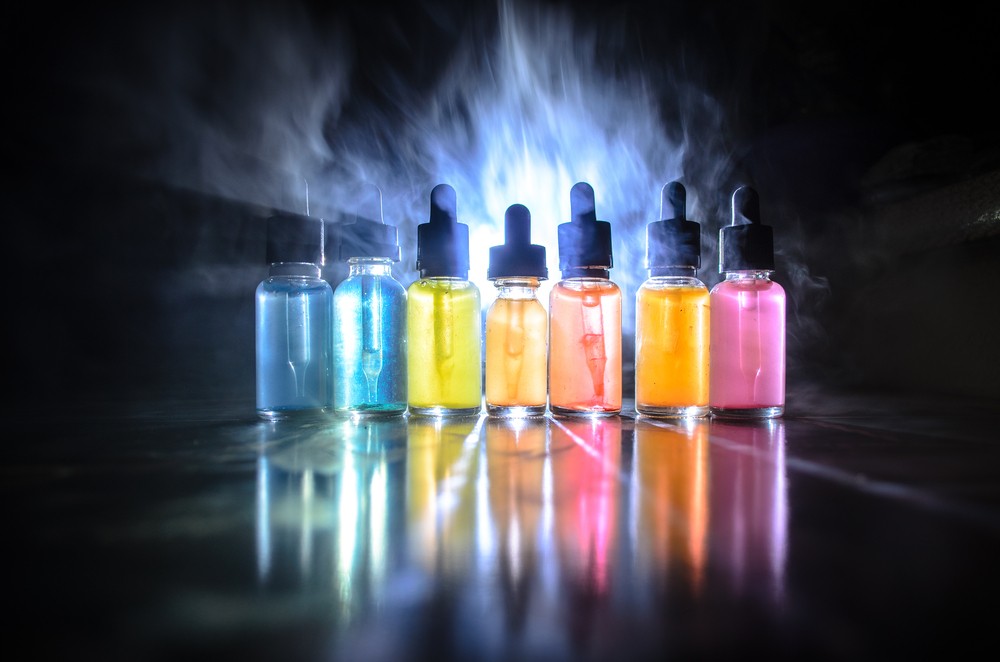
E-liquid, the solution used in electronic cigarettes, is comprised of several key components:
-
Base Liquid: This forms the foundation of the e-liquid and is typically a mixture of propylene glycol (PG) and vegetable glycerin (VG). These substances act as solvents, dissolving the other ingredients and creating a smooth, vaporizable solution.
- Propylene Glycol (PG): Known for its thinner consistency, PG produces a stronger throat hit and enhances flavor delivery. It is often preferred by vapers seeking a more intense smoking experience.
- Vegetable Glycerin (VG): This thicker liquid produces larger, denser clouds of vapor and offers a smoother, less harsh throat hit. It is favored by cloud chasers and individuals seeking a more subtle vaping experience.
-
Nicotine: An optional component, nicotine is a stimulant that provides the familiar "kick" associated with smoking. It is available in various strengths, allowing vapers to adjust the nicotine content according to their preferences and desired levels of satisfaction.
-
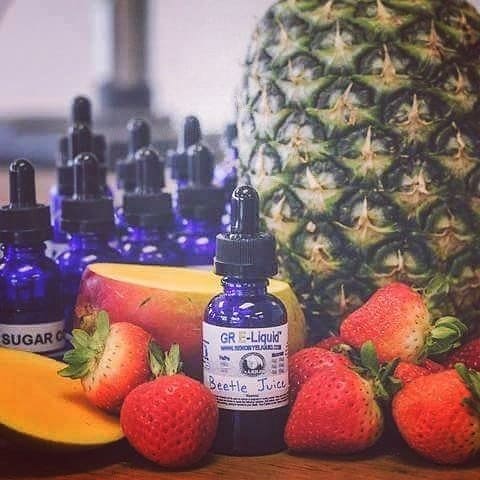
Flavorings: This diverse range of ingredients adds the desired taste to the e-liquid. Flavorings come in a variety of forms, including concentrates, extracts, and flavor shots. They are typically available in a wide spectrum of flavors, from classic tobacco and fruity options to more exotic and complex blends.
The DIY E-Liquid Mixing Process
Creating your own e-liquid involves a straightforward process, requiring careful attention to detail and adherence to safety guidelines. The following steps outline the typical procedure:
-
Gather Supplies: Before embarking on the mixing process, ensure you have the necessary equipment and ingredients:
- Base Liquid: Choose the desired ratio of PG and VG based on your vaping preferences.
- Nicotine: Select the appropriate nicotine strength based on your desired level of satisfaction.
- Flavorings: Choose your desired flavors and ensure they are compatible with the selected base liquid.
- Measuring Equipment: Precise measuring tools are crucial for accurate ingredient proportions. This includes graduated cylinders, syringes, or droppers.
- Mixing Container: A glass or plastic bottle with a tight-fitting lid is essential for mixing and storing the e-liquid.
- Gloves: Protect your hands from potential skin irritation by wearing gloves during the mixing process.
- Safety Glasses: Safeguard your eyes from splashes or spills by wearing safety glasses.
- Scales: For precise measurements, especially when using concentrated flavorings, a digital scale with a high degree of accuracy is recommended.
-
Calculate Ingredients: Determine the quantities of each ingredient based on the desired final volume and desired nicotine strength. This can be achieved using online calculators or by employing a basic understanding of ratios and percentages.
-
Prepare the Base: Begin by carefully measuring the desired amount of base liquid (PG/VG) into the mixing container.
-
Add Nicotine (Optional): If using nicotine, measure the required amount with extreme precision. Nicotine is a potent substance, and even slight overdoses can be harmful.
-
Introduce Flavorings: Gradually add the chosen flavorings to the base and nicotine mixture. Start with a small amount and gradually increase it until the desired flavor intensity is achieved.
-
Mix Thoroughly: Shake or stir the e-liquid mixture vigorously to ensure all ingredients are well-combined and the flavorings are evenly distributed.
-
Steep the E-Liquid: After mixing, allow the e-liquid to steep for a period of time to allow the flavors to mature and fully develop. This process typically takes several days, but the exact duration can vary depending on the flavorings used.
-
Label and Store: Once the e-liquid has steeped, label the container with the date of mixing, the ingredients used, and the nicotine strength. Store the e-liquid in a cool, dark place to preserve its quality and prevent degradation.
Safety Considerations for DIY E-Liquid Mixing
While DIY e-liquid mixing offers a rewarding experience, it is crucial to prioritize safety and handle ingredients with care. The following safety guidelines should be strictly adhered to:
- Nicotine Handling: Nicotine is a highly concentrated and potentially toxic substance. Handle it with extreme care, wearing gloves and using precise measuring tools. Avoid inhaling or ingesting nicotine, and store it in a secure location out of reach of children and pets.
- Flavoring Selection: Ensure all flavorings are intended for use in e-liquids and are free of harmful chemicals. Avoid using food-grade flavorings, as they may contain ingredients unsuitable for vaping.
- Ventilation: Mixing e-liquids can release fumes and vapors. Ensure adequate ventilation by working in a well-ventilated area or using a fume hood.
- Hygiene: Maintain a clean work environment and wash your hands thoroughly after handling ingredients.
- Storage: Store e-liquids in airtight containers in a cool, dark place to prevent degradation and contamination.
- Labeling: Clearly label all containers with the date of mixing, the ingredients used, and the nicotine strength.
Tips for Successful DIY E-Liquid Mixing
- Start Small: Begin with small batches of e-liquid to experiment with different flavor combinations and nicotine strengths before committing to larger quantities.
- Research Flavor Profiles: Explore online resources and communities to research flavor profiles and discover new combinations.
- Experiment with Ratios: Experiment with different PG/VG ratios to find the ideal balance for your vaping preferences.
- Steeping Time: Allow sufficient time for the e-liquid to steep and the flavors to fully develop.
- Taste Test: After steeping, taste test the e-liquid to ensure the flavor profile meets your expectations.
- Record Your Recipes: Keep a detailed record of your e-liquid recipes, including the ingredients, quantities, and steeping time. This will allow you to recreate your favorite blends in the future.
FAQs about DIY E-Liquid Mixing
Q: Is DIY e-liquid mixing safe?
A: DIY e-liquid mixing can be safe if proper safety precautions are taken. It is crucial to use high-quality ingredients, handle nicotine with care, and follow all safety guidelines.
Q: What are the benefits of DIY e-liquid mixing?
A: DIY e-liquid mixing offers several benefits, including:
* **Customization:** Control over ingredients, flavor profiles, and nicotine strength allows for a personalized vaping experience.
* **Cost-Effectiveness:** DIY e-liquid mixing can be significantly more cost-effective compared to purchasing pre-made e-liquids.
* **Creative Freedom:** Experiment with flavor combinations and create unique vaping experiences.
Q: How do I determine the right nicotine strength for me?
A: The appropriate nicotine strength depends on your individual preferences and desired level of satisfaction. Start with a lower strength and gradually increase it if needed.
Q: What are the best resources for learning more about DIY e-liquid mixing?
A: There are numerous online resources and communities dedicated to DIY e-liquid mixing. These platforms provide valuable information, recipes, and support from experienced mixers.
Conclusion
DIY e-liquid mixing offers a rewarding and empowering experience, allowing vapers to personalize their vaping experience and craft custom e-liquids tailored to their preferences. By understanding the components, following safety guidelines, and embracing the creative process, individuals can explore the vast world of flavors and create their own unique vaping solutions. Remember, safety should always be paramount, and thorough research and adherence to best practices are essential for a positive and enjoyable DIY e-liquid mixing journey.


Closure
Thus, we hope this article has provided valuable insights into Crafting Your Own Vaping Experience: A Comprehensive Guide to DIY E-Liquid. We appreciate your attention to our article. See you in our next article!