Crafting Your Own Vaping Experience: A Comprehensive Guide to DIY E-Liquid
Related Articles: Crafting Your Own Vaping Experience: A Comprehensive Guide to DIY E-Liquid
Introduction
In this auspicious occasion, we are delighted to delve into the intriguing topic related to Crafting Your Own Vaping Experience: A Comprehensive Guide to DIY E-Liquid. Let’s weave interesting information and offer fresh perspectives to the readers.
Table of Content
Crafting Your Own Vaping Experience: A Comprehensive Guide to DIY E-Liquid
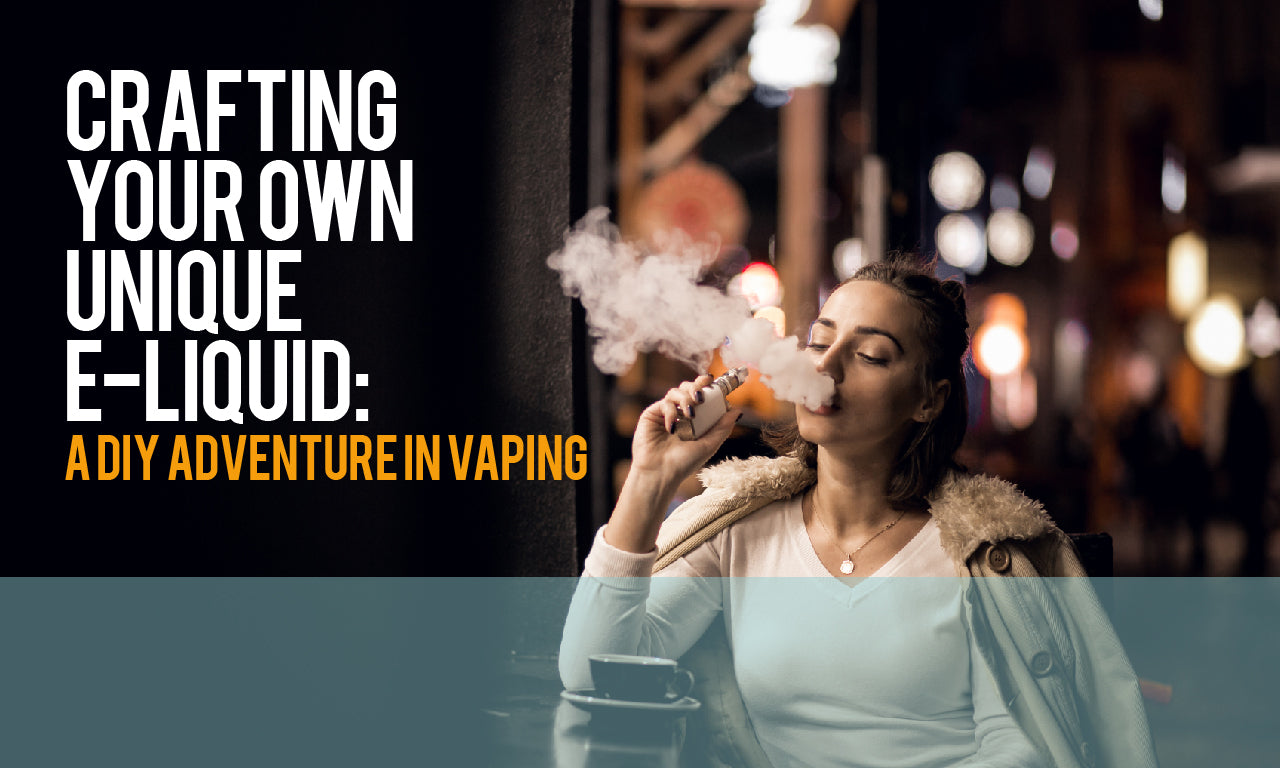
The realm of vaping offers a vast landscape of flavors and experiences, with commercially available e-liquids catering to a diverse range of preferences. However, for those seeking a deeper level of customization and control over their vaping journey, the art of crafting one’s own e-liquid presents a compelling alternative.
DIY e-liquid creation allows individuals to experiment with unique flavor combinations, adjust nicotine levels to suit their individual needs, and ensure the use of high-quality ingredients. This process, while requiring a degree of precision and attention to detail, empowers vapers to tailor their vaping experience to their exact desires.
Understanding the Ingredients:
E-liquid, the essence of vaping, is a carefully balanced mixture of several key components:
-
Base Liquid: The foundation of any e-liquid is the base liquid, typically a blend of propylene glycol (PG) and vegetable glycerin (VG). These two liquids, known for their distinct properties, contribute significantly to the overall vaping experience.
-
Propylene Glycol (PG): A colorless, odorless liquid with a slightly sweet taste, PG is known for its ability to deliver a stronger throat hit and enhance flavor intensity. It also boasts a higher vapor pressure, leading to faster absorption of nicotine and a more pronounced sensation.
-
Vegetable Glycerin (VG): A viscous, odorless liquid with a slightly sweet taste, VG is renowned for its ability to produce thick, dense clouds of vapor. It also offers a smoother throat hit and a milder flavor profile.
-
-
Nicotine: For vapers seeking the stimulating effects of nicotine, it is a crucial component. Nicotine is typically sourced in liquid form and added to the base liquid in varying concentrations, measured in milligrams per milliliter (mg/mL).
-
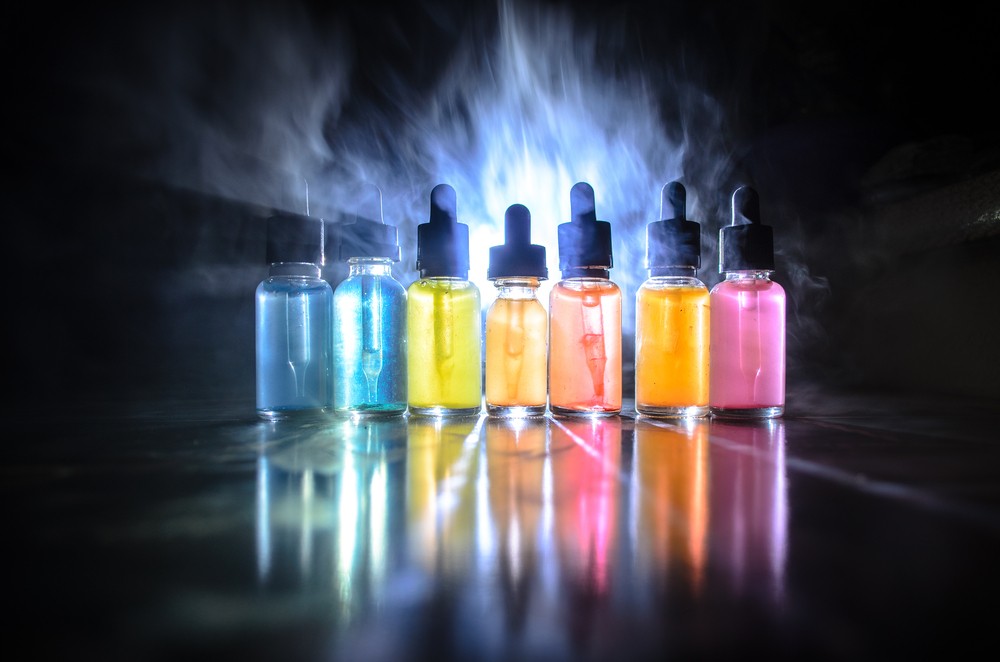
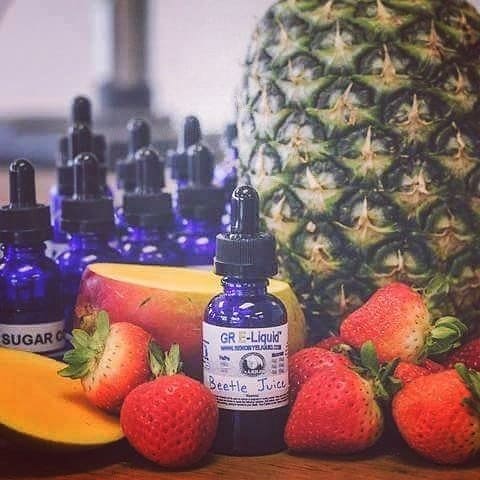
Flavorings: The heart of any e-liquid, flavorings are the key to creating unique and satisfying vaping experiences. A wide array of flavors, ranging from fruity and sweet to tobacco and menthol, are available, allowing for endless customization possibilities.
-
Flavor Concentrates: These highly concentrated flavorings are typically diluted with base liquid before being added to the final e-liquid mix.
-
Flavorings for DIY: These are specifically designed for DIY e-liquid creation and are often available in larger quantities, offering greater value for money.
-
Safety First: Essential Precautions
DIY e-liquid creation, while a rewarding endeavor, demands adherence to safety protocols to ensure a secure and enjoyable experience.
-
Proper Ventilation: The mixing process involves working with potentially volatile ingredients, so adequate ventilation is crucial. A well-ventilated area with a fume hood or extractor fan is recommended.
-
Protective Gear: Gloves and safety glasses should be worn to minimize skin and eye contact with the ingredients.
-
Storage: Store all ingredients, including finished e-liquid, in airtight containers in a cool, dry place away from direct sunlight and heat sources.
-
Children and Pets: Keep all ingredients and finished e-liquid out of reach of children and pets.
-
Nicotine Handling: Nicotine is a potent substance and should be handled with utmost care. Use gloves and avoid contact with skin, eyes, and mucous membranes. In case of accidental contact, wash the affected area immediately with soap and water and seek medical attention if necessary.
The Mixing Process: A Step-by-Step Guide
Once you’ve gathered your ingredients and ensured a safe working environment, you can embark on the exciting process of creating your own e-liquid.
1. Preparation:
- Gather your ingredients: Have your chosen base liquid, nicotine (if desired), flavor concentrates, and all necessary equipment readily available.
- Clean your equipment: Thoroughly clean and sanitize all mixing containers, bottles, and syringes to prevent contamination.
2. Calculating Your Recipe:
- Determine your nicotine strength: If using nicotine, decide on the desired strength in mg/mL.
- Choose your flavor profile: Select the desired flavor concentrates and determine the percentage of each you wish to use.
- Calculate the total volume: Decide on the final volume of e-liquid you want to create.
3. Mixing:
- Base Liquid: Begin by measuring the desired volume of base liquid into a clean mixing container.
- Nicotine (Optional): If using nicotine, carefully measure the required amount using a syringe or dropper and add it to the base liquid.
- Flavor Concentrates: Add the chosen flavor concentrates to the base liquid, ensuring they are thoroughly mixed.
- Shake and Steep: Thoroughly shake the mixture to ensure all ingredients are well-combined. Allow the e-liquid to steep for at least a week, preferably in a cool, dark place, to allow the flavors to fully develop.
4. Bottling and Labeling:
- Bottling: Transfer the finished e-liquid into clean, airtight bottles with droppers or childproof caps.
-
Labeling: Clearly label each bottle with the following information:
- Flavor name
- Nicotine strength (if applicable)
- Date of creation
- Any relevant warnings or precautions
FAQs: Addressing Common Concerns
1. What is the ideal PG/VG ratio for e-liquid?
The ideal PG/VG ratio is subjective and depends on individual preferences. Higher PG ratios offer a stronger throat hit and enhanced flavor intensity, while higher VG ratios produce thicker clouds of vapor and a smoother throat hit. Experimentation is key to discovering the perfect balance for your vaping style.
2. How do I calculate the correct amount of nicotine?
Nicotine concentration is measured in mg/mL. To calculate the required amount of nicotine for your e-liquid, use the following formula:
- Nicotine amount (mL) = (Desired nicotine strength (mg/mL) x Total e-liquid volume (mL)) / Nicotine concentration (mg/mL)
For example, to create 100mL of e-liquid with a 3mg/mL nicotine strength, using a 100mg/mL nicotine solution, you would need:
- Nicotine amount (mL) = (3 mg/mL x 100 mL) / 100 mg/mL = 3mL
3. How long should I steep my e-liquid?
Steeping allows the flavors to fully develop and meld together. A minimum of one week is recommended, but some flavors may benefit from steeping for several weeks or even months.
4. How can I ensure the safety of my DIY e-liquid?
Always use high-quality ingredients from reputable sources. Follow all safety precautions and handle nicotine with care. Store your e-liquid in a cool, dry place away from direct sunlight and heat sources.
5. What are the benefits of making my own e-liquid?
- Customization: Tailor your vaping experience to your exact preferences, experimenting with unique flavor combinations and nicotine strengths.
- Cost Savings: Making your own e-liquid can be significantly more cost-effective than purchasing pre-made e-liquids.
- Ingredient Control: Ensure the use of high-quality ingredients and avoid potential additives or contaminants found in some commercial e-liquids.
- Creativity: Explore your creativity and discover the joy of crafting your own vaping masterpieces.
Tips for Successful DIY E-Liquid Creation:
- Start with simple recipes: Begin with basic flavor combinations and gradually experiment with more complex recipes.
- Use a scale for accurate measurements: Precise measurements are crucial for achieving consistent results.
- Don’t over-flavor: Start with a small percentage of flavor concentrates and gradually increase it until you achieve the desired intensity.
- Steep your e-liquid properly: Allow ample time for the flavors to develop and meld.
- Keep a record of your recipes: Document your successful creations to easily recreate them later.
- Experiment and have fun: Embrace the creative process and enjoy the journey of discovering your perfect vaping experience.
Conclusion:
DIY e-liquid creation offers a rewarding and empowering experience for vapers seeking to take control of their vaping journey. By understanding the key ingredients, safety protocols, and mixing techniques, individuals can craft their own unique vaping experiences, tailored to their exact preferences. With a commitment to safety, a touch of creativity, and a willingness to experiment, the world of DIY e-liquid creation opens up a vast and exciting landscape of possibilities.


Closure
Thus, we hope this article has provided valuable insights into Crafting Your Own Vaping Experience: A Comprehensive Guide to DIY E-Liquid. We thank you for taking the time to read this article. See you in our next article!